From the documentation links available from Heltec site for the Wireless Shell SoC it is not very clear how to properly setup development environment for this product.
I would like to share my experience here, in particular for on-chip debugging.
Choosing the IDE
I tried Arduino IDE 1.8.13 as well as VS-Code 1.48.2 with PlatformIO 5.0.0b2 extension installed.
Both are fine. With PlatformIO you even can debug your code, for example step through your arduino sketch.
As of time of writing, the stock PlatformIO failed debugging ESP32 code, so I had to upgrade to the development beta. To do so you need to open PlatformIO terminal directly from withing VS-Code IDE by pressing a small right-angle-arrow-in-the-square icon in the bottom blue toolbar and type:
pio upgrade --dev
Selecting proper board type for this product
Unfortunately, Arduino IDE and PlatformIO, both lack ‘Wireless Shell’ board choice.
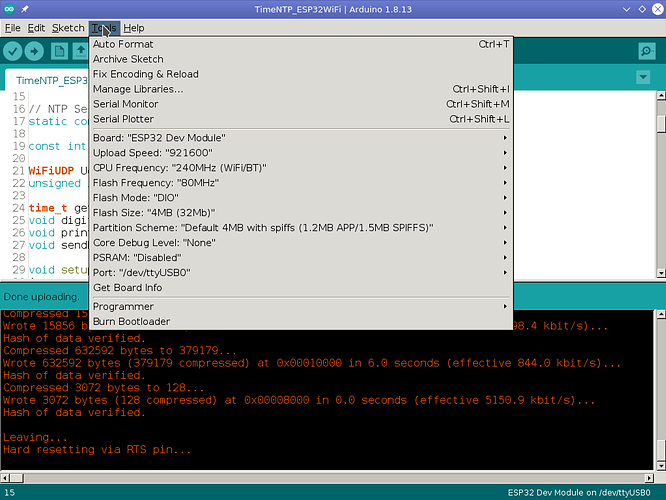
Instead, we have to use ESP32 Dev Module in Arduino IDE and correspondingly esp32dev is the right choice in PlatformIO.
Sadly, it is not mentioned in the documentation.
In the Arduino IDE it is also possible to use Wireless Stick Lite board for this product.
You will need to add the following additional board manager URLs in the Arduino IDE Preferences:
https://dl.espressif.com/dl/package_esp32_index.json
https://resource.heltec.cn/download/package_heltec_esp32_index.json
Then install both esp32 and Heltec ESP32 Seriaes Dev-boards via Boards Manager menu.
After selecting particular board via Arduino|Tools|Board menu some options like Upload Speed, Partition Scheme, Flash Mode are available. Default settings usually are OK here.
To be continued…

